【CSS+JS】inputをfocusするとplaceholderが上に動くフォームを作ってみる
※本ページのリンクにはプロモーションが含まれています。
こんにちは、Ryohei(@ityryohei)です!
本記事では、inputをfocusした際にplaceholderが上に動く、マテリアルデザインっぽいフォームの作り方をご紹介しています。

inputをfocusするとplaceholderがぴょいって上に動くフォームがあるけど、どうやって作ってるんだろう?
上記の疑問にお答えします。
では、解説していきます。focusするとplaceholderが上に動くフォームとは
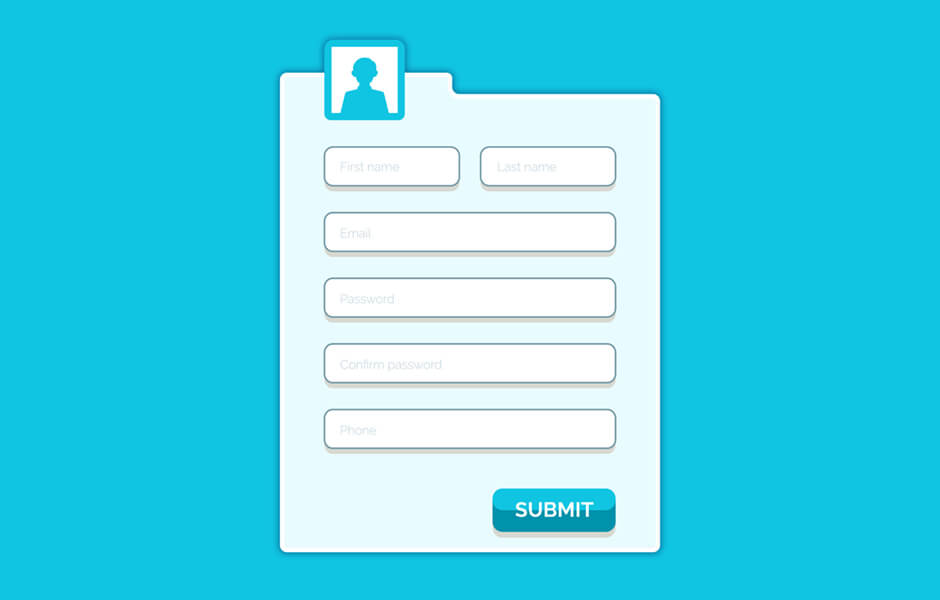
何となく説明だけだと伝わりにくい気がしたので、簡単にですがデモをご用意しました。下記の埋め込みがデモのフォームです。デモ内のinputをfocusすると、placeholder…正確には項目を説明するラベルが上にずれる形で動きます。
See the Pen Form Float Label|JavaScript by ryohei (@intotheprogram) on CodePen.
ラベルが英語なのでわかりにくいですが、項目名であったり、説明等に置き換えて使用すると、わかりやすくて良さそうですね!placeholderは、入力中には非表示になってしまいますが、上記の方法だと常に見える位置にラベルであったり説明が存在することになるので、ユーザーにも親切ですね。
実際にフォームを作ってみる
デモで使用しているものをそのまま記載しています。focus時と入力が完了した段階でlabelにcompletedというclassを付与することで実現しています。
HTML
<form method="post" action="#">
    <fieldset class="fieldset">
        <input class="input" type="text" name="fullname">
        <label class="label">Name</label>
    </fieldset>
    <fieldset class="fieldset">
        <input class="input" type="email" name="email">
        <label class="label">Email</label>
    </fieldset>
    <fieldset class="fieldset">
        <input class="input" type="tel" name="phone">
        <label class="label">Phone</label>
    </fieldset>
    <fieldset class="fieldset">
        <input class="input" type="text" name="address">
        <label class="label">Address</label>
    </fieldset>
    <button>Submit</button>
</form>
SCSS
form {
    display: block;
    width: 100%;
    max-width: 500px;
    margin: 0 auto;
    padding: 40px 0;

    .fieldset {
        position: relative;
        margin: 0 0 20px 0;
        padding: 20px 0 0 0;

        .input {
            width: 100%;
            padding: 10px;
            border: 0;
            border-bottom: 2px solid $blue;
            background-color: transparent;

            &:focus {
                & + .label {
                    color: $blue;
                    font-weight: bolder;
                    transform: scale(0.9) translateX(0) translateY(10px);
                }
            }
        }

        .label {
            position: absolute;
            top: 0;
            left: 0;
            z-index: -1;
            color: $gray;
            transition: .2s;
            transform: translateX(10px) translateY(30px);

            &.completed {
                color: $gray;
                font-weight: bolder;
                transform: scale(0.9) translateX(0) translateY(10px);
            }
        }
    }

    button {
        display: block;
        width: 150px;
        height: 40px;
        margin: 40px auto 0;
        border: 0;
        box-shadow: 0;
        color: $white;
        background-color: $gray;
        cursor: pointer;
    }
}
JavaScript
const inputs = document.getElementsByTagName('input');
const completed = 'completed';

for (let input of inputs) {
    input.addEventListener('change', ()=>{
        if(input.value !== ''){
            input.nextElementSibling.classList.add(completed);
        } else {
            input.nextElementSibling.classList.remove(completed);
        }
  },false)
}
最後に
マテリアルデザインは色々と参考になる部分が多いので、Webに携わっている方であればざっくり理解しておくと良さそう!公式のドキュメントはもちろんCSSフレームワークもありますので、参考にしてみてださいね。
以上、JavaScriptでinputをfocusするとplaceholderが上に動くフォームを作る方法のご紹介でした!